Airport Map Tutorial
An example for how to create an interactive airport map using Maplibre and React
In this tutorial, you will learn how to query the AMDB using the JS SDK, and render it using the Maplibre mapping package.
This tutorial builds upon the SDK Quickstart, so please complete that tutorial first (or use the linked CodeSandbox), and then begin this tutorial in the same project.
1. Install Mapping Dependencies
This tutorial will use the Maplibre GL JS engine (which uses webgl) for map rendering, and the react-map-gl library for composition into the react structure.
npm i react-map-gl maplibre-gl2. Add AMDB Scope
In order to make use of the AMDB API, the application must request access to the AMDB scope, and export the AMDB interface from the file.
Specifying a scope in the application does not neccessarily mean that your client credentials have permission to request said scope. If you request a scope that your client does not have permission for, the authentication flow will enter an error state.
// ...

import { getAmdbAPI } from 'navigraph/amdb'

const config: NavigraphApp = {
  clientId: "<YOUR_NAVIGRAPH_CLIENT_ID>",
  clientSecret: "<YOUR_NAVIGRAPH_CLIENT_SECRET>",
  scopes: [Scope.CHARTS],
  scopes: [Scope.CHARTS, Scope.AMDB],
};

// ...

export const charts = getChartsAPI();
export const amdb = getAmdbAPI();
3. Create the Map Renderer
Now we will create our map pane component. Create a new file, with a default exported component which, for now, has no props.
import { Layer, Map, Source } from "react-map-gl/maplibre";
import "maplibre-gl/dist/maplibre-gl.css"; // Import maplibre CSS so the map containers work properly

export default function MapRenderer() {
  return (
    <Map style={{ height: "500px" }}>
      {/* Render a basemap of open street map tiles */}
      <Source type="raster" tiles={["https://tile.openstreetmap.org/{z}/{x}/{y}.png"]}>
        <Layer id="satellite-basemap" type="raster" />
      </Source>
    </Map>
  );
}
Then, in your App.tsx file, import the Map Renderer, and render it when the user is logged in, replacing the previously displayed username information. This will be refactored again, but just check that you get the expected results.
// ...

import MapRenderer from "./components/map-renderer";

// ...

    {params?.verification_uri_complete && !user && (
        <>
            <QRCodeSVG value={params.verification_uri_complete} size={250} />
            <a href={params.verification_uri_complete} target="_blank" rel="noreferrer">
                Open sign in page
            </a>
        </>
    )}

    {user && (
        <h2>
            Welcome, <strong>{user.preferred_username}</strong>
        </h2>
    )}
    {user && <MapRenderer />}
</main>

// ...
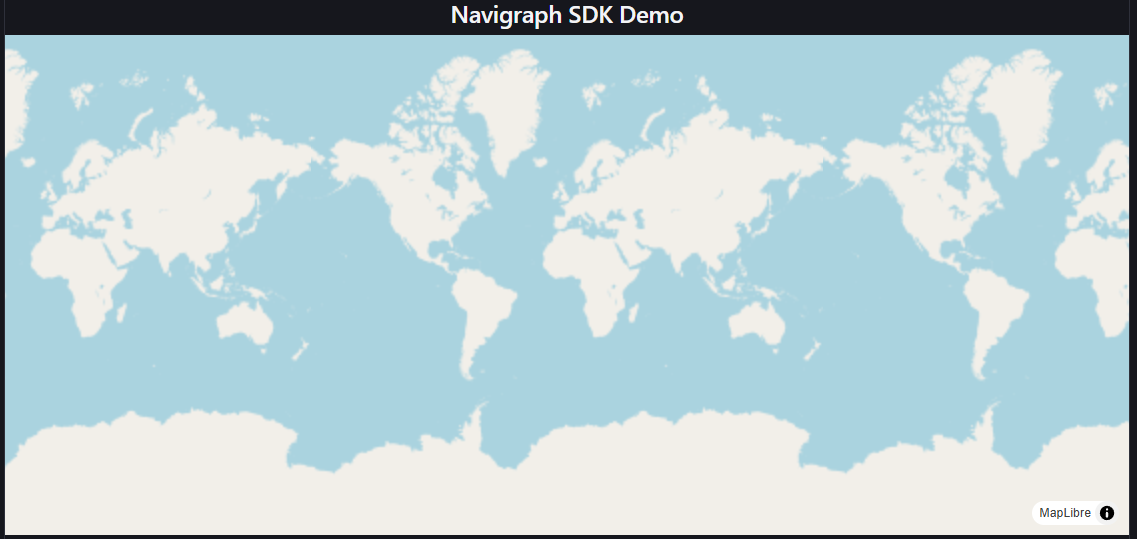
You should now see a basic basemap rendering when the user is logged in, and the map should be interactive.
Data Loading
Now that we have a working interactive map renderer, we need to query and render AMDB data. To do this, we will create another component which wraps the map renderer, which will handle fetching of AMDB data.
For the react data fetching, we will use the swr library. Install it using the following command
npm i swrSince the wrapper will handle fetching the data, we need to change the map renderer to accept the data and render it
import { Layer, Map, Source } from "react-map-gl/maplibre";
import "maplibre-gl/dist/maplibre-gl.css"; // Import maplibre CSS so the map containers work properly
import type { AmdbLayerName, AmdbResponse } from "navigraph/amdb";

// List of layers to load and render
export const LAYERS = ["aerodromereferencepoint", "taxiwayelement", "runwayelement"] satisfies AmdbLayerName[];

interface MapRendererProps {
  data: AmdbResponse<(typeof LAYERS)[number]>;
}

export default function MapRenderer() {
export default function MapRenderer({ data }: MapRendererProps) {
  return (
    <Map
      style={{ height: "500px" }}
      // Initially focus on the aerodrome reference point of the loaded airport
      initialViewState={{
        zoom: 12,
        longitude: data.aerodromereferencepoint.features[0].geometry.coordinates[0],
        latitude: data.aerodromereferencepoint.features[0].geometry.coordinates[1],
      }}
    >
      {/* Render a basemap of open street map tiles */}
      <Source type="raster" tiles={["https://tile.openstreetmap.org/{z}/{x}/{y}.png"]}>
        <Layer id="satellite-basemap" type="raster" />
      </Source>

      {/* New AMDB Layers */}
      <Source type="geojson" data={data.runwayelement}>
        <Layer
          id="runwayelement"
          type="fill"
          paint={{
            "fill-color": "gray",
          }}
        />
      </Source>

      <Source type="geojson" data={data.taxiwayelement}>
        <Layer
          id="taxiwayelement"
          type="fill"
          paint={{
            "fill-color": "gray",
          }}
        />
      </Source>
    </Map>
  );
}
Now create the wrapper component in a new file
import useSWR from "swr";
import { amdb } from "../lib/navigraph";
import MapRenderer, { LAYERS } from "./map-renderer";

// Stockholm Arlanda Airport
const AIRPORT = "ESSA";

export default function MapPane() {
  const { data } = useSWR(["amdb-layers", AIRPORT, LAYERS], () => {
    return amdb.getAmdbLayers({
      icao: AIRPORT,
      include: LAYERS,
    });
  });

  if (!data) {
    return <span>Loading...</span>;
  }

  return <MapRenderer data={data} />;
}
And update App.tsx to use the wrapper component
import MapRenderer from "./components/map-renderer";
import MapPane from "./components/map-pane";

// ..

  {user && <MapRenderer />}
  {user && <MapPane />}
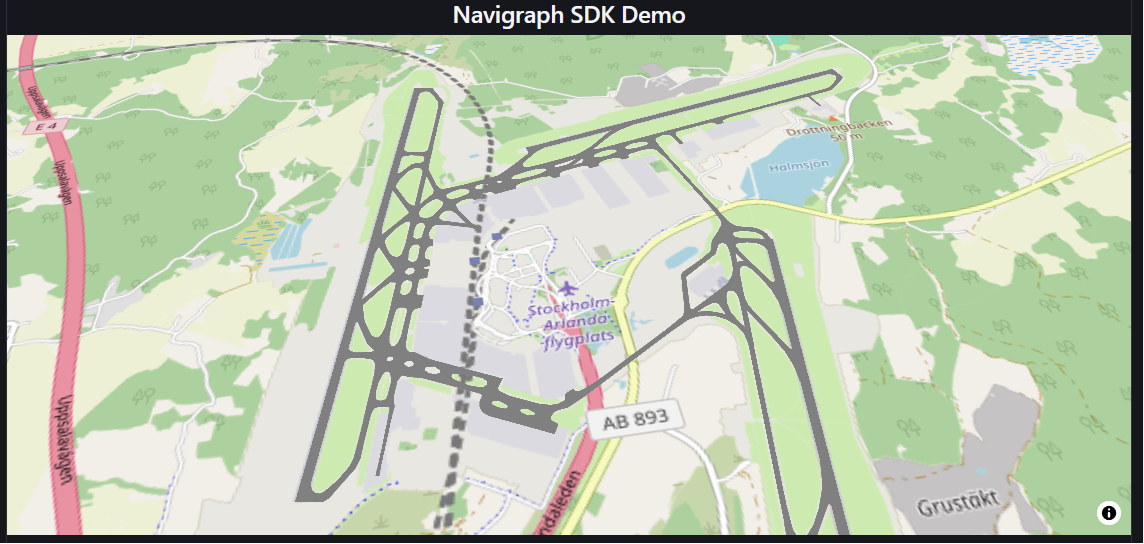
You should now see a zoomed in map of Arlanda with taxiways and runways rendered ontop in gray
To add more layers, simply add to the LAYERS list, and add new sources and layers tags in MapRenderer